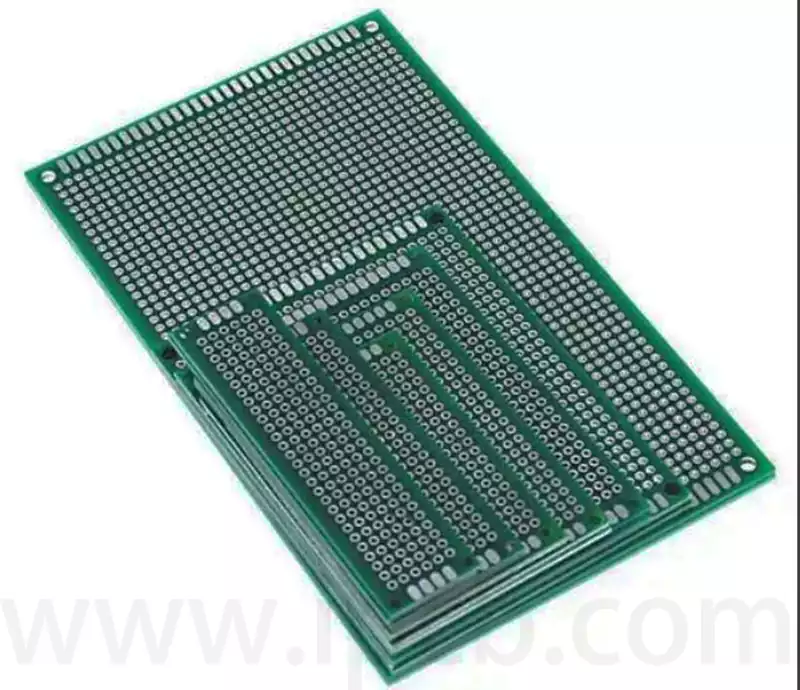
A breadboard is a reusable platform for building and testing electronic circuits without soldering. It consists of a grid of interconnected holes that allow for quick insertion and rearrangement of components and wires. Breadboards are ideal for preliminary circuit design and experimentation because they enable easy modification and troubleshooting.
Basic Steps for Using a Breadboard
To conduct circuit experiments and prototyping with a breadboard, follow these fundamental steps:
- Prepare required components: First, gather the electronic components you will connect on the breadboard. Ensure you understand each component’s function and pin configuration.
- Insert components: Insert the component pins into the breadboard’s holes. Typically, breadboard holes are divided into two sections: one for positive connections (usually red) and one for negative connections (usually black). Ensure you correctly insert the component pins into the appropriate holes.
- Connect the circuit: Use jumper wires (usually thin wires) to connect the components, forming the desired circuit. You can insert jumper wires into the breadboard’s holes to link different component pins. Ensure connections are correct and free of short circuits or cross-connections.
- Test the circuit: After completing the connections, use an appropriate power source and testing equipment (such as a voltmeter, ammeter, etc.) to verify the circuit’s functionality and performance. Ensure the circuit operates as intended, adjusting any necessary connections or component values.
- Debug and optimize: If the circuit does not function as expected, use debugging tools (such as an oscilloscope, logic analyzer, etc.) to identify issues within the circuit. Make adjustments and optimizations as needed until the circuit operates correctly.
Designing breadboard circuits may encounter the following issues:
Grounding Issues
When applied to breadboards, ground serves as a shared connection for many circuit components. Ideally, it provides a zero-resistance node. In manufacturing printed circuit boards (PCBs), designers can freely use continuous copper traces as ground planes. For example, in double-sided PCBs, designers can utilize the entire bottom layer of the board. For more complex boards, one of the inner layers might serve as the ground plane. Unfortunately, breadboards cannot utilize this option.
Contact Resistance
Worse still, we know breadboard connections are far from ideal. Experiments indicate each contact point exhibits 50 mΩ of resistance, with linear resistance of 11 mΩ per inch. From this perspective, a circuit constructed with 30 AWG fine wire might actually have lower resistance than the breadboard itself.
Parasitic Parameters
Resistance isn’t the breadboard’s only issue. Capacitance exists between various components. Inductance also arises due to the length of the wires. Taken together, we begin to understand why breadboards have such a poor reputation. We risk building circuits prone to high-frequency oscillations, noise, long wires acting as antennas to receive and broadcast energy, and unstable logic transitions.
Logic Circuit Optimization Approach
In logic circuitry, when a circuit operates at 1 MHz, the square wave’s spectral characteristics can be represented as a superposition of odd harmonics. This indicates that even at relatively low frequencies, square waves contain high-frequency harmonic components. For example, a 1 MHz square wave exhibits significant spectral components at frequencies like 3 MHz, 5 MHz, and 7 MHz.
Regarding this issue, the following analytical perspectives and corresponding approaches exist:
High-Frequency Component Suppression
From the circuit’s physical characteristics, the overall resistance and distributed capacitance of the breadboard affect the signal. This effect manifests as attenuation of the high-frequency components in all signals, functioning similarly to a low-pass filter applied to the entire signal system. Under this influence, the edges of the square wave signal become rounded, eliminating the originally present high-frequency components.
Ground Bounce Analysis
From another perspective, the inductive properties of long conductors produce effects opposite to capacitance. Capacitance slows signal propagation, manifesting as rounded edges and acting like a low-pass filter; inductance, conversely, causes voltage spikes. In extreme cases, this inductive effect triggers a phenomenon known as ground bounce. Ground bounce is a phenomenon intrinsically linked to inductance, manifesting as a sudden shift in the ground potential connected to an integrated circuit (IC) relative to the actual ground potential. This shift can be substantial, potentially triggering erroneous IC operation. The ultimate consequence is unstable digital system operation, significantly complicating fault diagnosis.
While breadboard remains indispensable for circuit prototyping, their inherent electrical challenges cannot be overlooked. Understanding and effectively managing grounding issues, contact resistance, and parasitic parameters is crucial for ensuring circuit stability and performance, particularly when dealing with logic circuits sensitive to high frequencies and noise.