In the world of electronics, the circuit board is the bridge between the various electronic components and the basis for realizing the function of the circuit. For electronics hobbyists, innovators or professionals, designing and make your own pcb board is a fun and challenging task.
Defining the design requirements
Before you start designing a circuit board, you first need to define your design requirements. This includes the function of the circuit, the electronic components required, the transmission path of the signals, and so on. You can clarify these requirements by drawing a circuit diagram to ensure that you don’t miss any important information during the design process.
Choosing the right design software
There are many circuit design software options available in the market today, such as Eagle, Altium Designer, KiCad, and others. These software offer a wealth of features and tools that can help you complete circuit design quickly and accurately. When choosing a design software, you can select it according to your needs and budget.
Designing the circuit board layout
After determining the function of the circuit and the electronic components required, you next need to design the layout of the circuit board. Layout design should take into account the connection relationship between components, signal transmission path, heat dissipation and other factors. Through reasonable layout design, it can ensure that the function of the circuit board is stable and reliable.
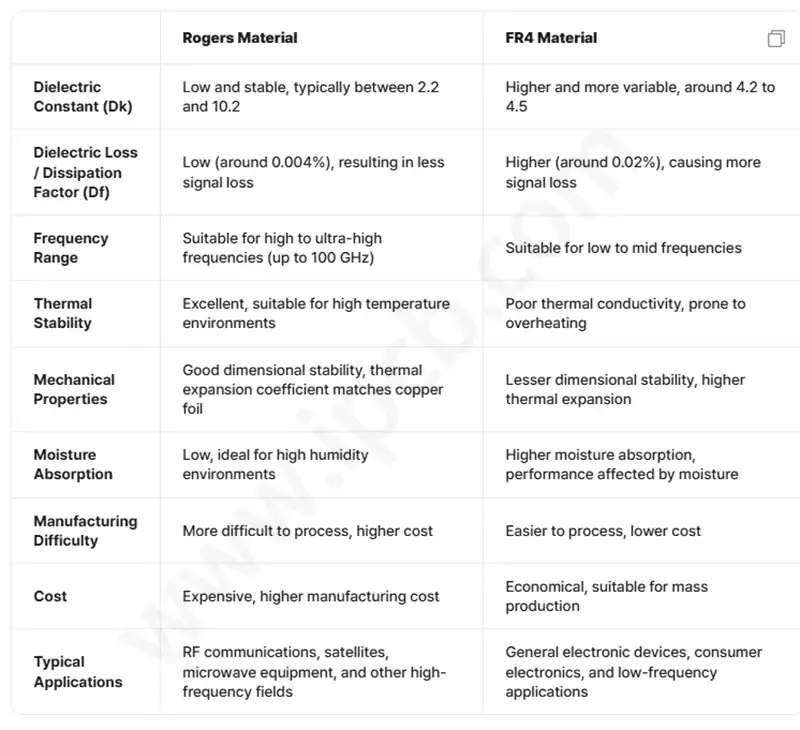
Selection of suitable materials
The choice of material for the circuit board directly affects the performance and life of the pcb board. Common circuit board materials include FR-4, aluminum substrate, ceramic substrate and so on. When choosing materials, you need to consider the use of the circuit board, the working environment, cost and other factors.
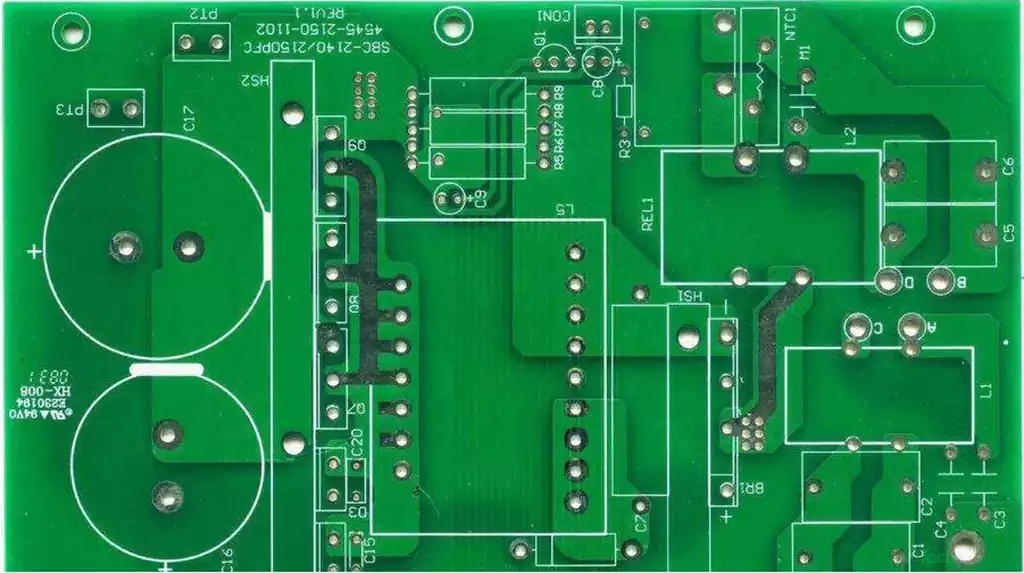
Fabrication of circuit boards
After completing the circuit design, it is time to start making the circuit board. There are many ways to make circuit boards, such as hand-engraving, chemical etching, CNC machining and so on. For beginners, hand-engraving and chemical etching are the easier methods to get started. Of course, if you want a more professional production effect, you can choose methods such as CNC processing.
Testing and Debugging
After completing the circuit board production, you need to test and debug. First check whether the components on the pcb board are soldered correctly and connected firmly. Then use a multimeter and other tools to check whether the parameters of the circuit board meet the design requirements. When problems are found in the testing process, debugging and repair are needed in time.
Optimization and Improvement
After the completion of the circuit board, some design deficiencies or problems may be found. This can be optimized and improved to improve the performance and stability of the circuit board. For example, you can optimize the layout design of the circuit, improve the selection of components and so on.
Designing and make your own circuit board is an interesting and challenging task. By defining your design requirements, choosing the right design software, designing the board layout, selecting the right materials, building the board, testing and debugging, and optimizing and improving, you can create a customized board that meets your needs.