LED strip pcb boards are printed circuit boards (PCBs) specifically designed to mount and connect LED chips and other electronic components, thereby enabling the luminous function of LED strips. An LED strip PCB board is a thin sheet made of insulating material, with conductive pathways etched or printed onto its surface. These pathways connect various electronic components, allowing current to flow between them. Within LED strips, these circuit boards serve as the backbone structure, providing both physical support and electrical connections.
The primary function of an LED strip pcb board is to provide stable electrical connections for LED chips, ensuring current flows smoothly through them to generate light. Simultaneously, the circuit board serves a heat dissipation role, helping maintain suitable temperatures for LED chips during prolonged operation.
An LED strip PCB board comprises the following key components:
Substrate: The foundational material of the PCB, typically made from fibreglass or other durable materials, providing structural support.
Copper Foil Layer: Conductive pathways formed from copper on the board, connecting LEDs and other components.
Solder Mask: A protective layer preventing solder bridges between conductive paths that could cause short circuits.
Silkscreen Layer: A printed layer on the PCB used for component identification and providing layout information.
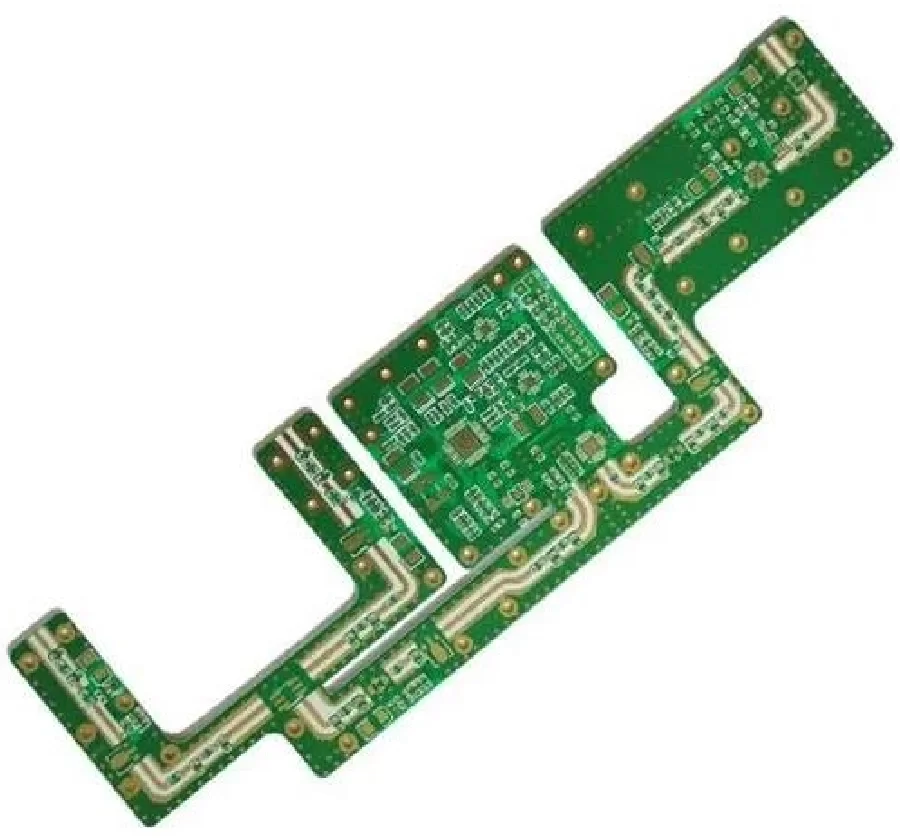
LED strip pcb boards come in various types, such as flexible printed circuits (FPC), rigid printed circuit boards (PCB), and rigid-flex circuit boards.
Flexible printed circuits offer bendability and ease of installation, making them suitable for LED strip applications requiring curvature or folding;
Rigid printed circuit boards possess high mechanical strength and stability, ideal for scenarios demanding board flatness and rigidity;
Rigid-flex PCBs combine the advantages of both, offering flexibility while maintaining substantial mechanical strength.
Additionally, LED strip pcb boards may incorporate specialised designs and materials, such as high-thermal-conductivity substrates and blind/buried via processes, to enhance thermal dissipation and electrical performance.

Application Areas for LED Strip PCB Boards:
Residential and Commercial Lighting
LED strips are extensively used in residential and commercial settings for ambient and task lighting.
Automotive Lighting
Within the automotive sector, LED strip PCB boards serve both interior and exterior illumination, including ambient lighting, brake lights, and headlamps.
Signage and Displays
LED strips frequently feature in signage and display applications, creating striking visual effects.
Advantages of LED Strip PCB Boards
Energy Efficiency: Compared to traditional lighting, LEDs consume less power, offering superior energy efficiency and cost-effectiveness.
Long-lasting: LEDs boast extended lifespans, reducing the need for frequent replacements.
Versatile: LED strips can be cut and shaped to fit diverse application scenarios.
Colour diversity: They offer a wide spectrum of colour options, including RGB variants capable of dynamic lighting effects.
Process for Customising LED Strip PCB Boards
Step 1: Define Requirements
Before commencing design, clearly outline the specifications for the LED strip. Consider the following factors:
Brightness: How luminous should the LEDs be?
Colour: Will you use monochrome, RGB, or RGBW LEDs?
Dimensions: What length and width are required?
Power Specifications: What operating voltage and current are needed?
Step 2: Select Appropriate Components
Choosing suitable components is crucial for the performance of the LED strip PCB board. Key components include:
LED Chips: Select chips meeting brightness and colour requirements.
Resistors: Ensure resistors are fitted to regulate the current flowing through the LEDs.
Connectors: Determine the connector types required for power input and for connecting multiple strips in series.
Step 3: Design the Circuit Layout
Based on your requirements and component list, commence designing the circuit layout. Use PCB design software to plan component placement and connections, focusing on:
Trace Width: Ensure copper traces are sufficiently wide to carry current without overheating.
Component Placement: Optimise component positioning to minimise trace lengths and reduce resistance values.
Thermal Management: Plan heat dissipation strategies, particularly when the strip requires high-brightness operation.
Step 4: Prototyping and Testing
Prior to mass-producing custom LED circuit boards, create prototypes for performance testing. This critical step identifies design flaws and enables necessary adjustments. Testing includes:
Electrical performance: Verify LED illumination and board operation within specified voltage and current ranges.
Thermal performance: Ensure boards remain within safe operating temperatures.
Durability: Assess resistance to physical stress and environmental factors.
Custom LED strip pcb boards demand precision engineering and contextual adaptability. By optimising materials, layout, and manufacturing processes, their energy-efficient, flexible, and durable advantages can be fully realised to precisely meet diverse lighting requirements.