In circuit board repair, a DC regulated power supply is often needed to supply power to the circuit board in order to test the working condition of the circuit.
There are a variety of DC regulated power supplies on the market,different output voltage levels and different current ratings,we most commonly used voltage 30V5A DC adjustable power supply, can also be a dual 30V5A,can be connected in series out of the 60V output voltage.It can meet the common circuit board power supply.
Main features, DC regulated power supply can provide accurate voltage output with low ripple voltage, DC regulated power supply can be very easily adjusted out of a variety of voltages, you can also adjust the size of the output current, to prevent the circuit board from being overcurrent and burned.
Disadvantages, DC adjustable power supply is not suitable for powering circuit boards, and can only be used as an experimental power supply or maintenance power supply.
Because of the low efficiency of DC adjustable voltage regulator, 50W power output, may require 70W-80W input power, higher than the output voltage of the power are consumed in the internal power transistor, the internal power transistor heating is serious, so it is only suitable for maintenance or debugging, of course, there are a small number of circuits using this DC series voltage regulator structure. Mainly used in small power, low cost of this occasion.
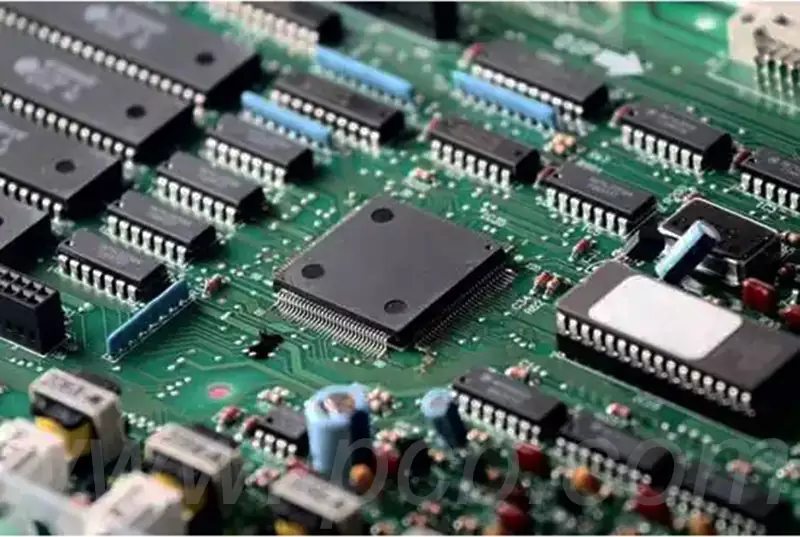
Circuit board repair Tools:
In the process of circuit board repair, it is crucial to have the right tools. Below we will introduce in detail several types of tools that are essential when repairing circuit boards.
Diagnostic Tools
- Multimeter: Used to measure the voltage, current and resistance of various components on the circuit board and other parameters to help locate the point of failure.
- Oscilloscope: able to display the waveform signal on the circuit board,easy to analyse the circuit operating state and troubleshooting signal problems.
Welding tools
- Soldering iron: a basic soldering tool for welding or disassembling components on the circuit board. Choosing the right soldering iron tip and temperature is the key.
- Solder and flux: Solder is used to connect component pins and circuit board pads, and flux can improve the quality of welding.
Cleaning Tools
- Brush: Used to remove dust and debris on the circuit board to keep the board clean.
- Cleaner: Specialised cleaners can effectively remove stains such as oil and fingerprints on the circuit board.
Auxiliary tools
- Magnifying glass: easy to observe the tiny components and welding points on the circuit board, to improve the maintenance accuracy.
- Lighting equipment: Provide good lighting conditions to ensure a clear line of sight during the repair process.
Safety tools
- Static hand ring: to prevent static electricity damage to the circuit board, to protect the maintenance safety.
- Safety glasses: to protect the eyes from welding process may produce spatter injury.
Circuit board repair steps
- Prepare tools and equipment as shown above to understand the repair steps.
- Before starting the repair, use a magnifying glass to observe the quality of the circuit board and welds.
- Use a multimeter to check whether the circuit board has circuit connectivity and voltage stability.
- Determine which parts have problems, and then use a soldering iron and tin wire to solder or replace.
- After soldering is completed, use a multimeter to check again to ensure the quality of the repair.
- Clean the repair parts and eliminate the waste and tin slag produced during the repair process.
After completing the circuit board repair, meticulous inspection and cleaning work is equally important to ensure the quality of repair, so that the equipment to regain a new life. Continuously accumulate maintenance experience, improve skills, is the key to deal with complex circuit board problems.
