Cutting PCB circuit boards is a fundamental skill in electronics fabrication, encountered by both hobbyists and professionals alike. A wide array of cutting tools is available, ranging from hobbyist staples like craft knives and hacksaws to professional equipment such as table saws and Dremel rotary tools. However, regardless of the method chosen, precise marking, steady operation, and appropriate safety precautions are paramount. This prevents both damage to the circuit board and personal injury.
Preparation and Safety Considerations
Thorough preparation is essential for successful cutting and safe operation. A tidy workspace and suitable tools not only enhance efficiency but also minimise errors. Before commencing, take a few minutes to inspect and gather all necessary items.
Cleaning the PCB circuit board surface
Wipe the PCB circuit board surface with a clean cloth to remove any dust or debris that could affect measurements. A clean surface ensures clearer markings and more precise cutting – a primary step emphasised in numerous professional guides.
Inspect Circuit Traces
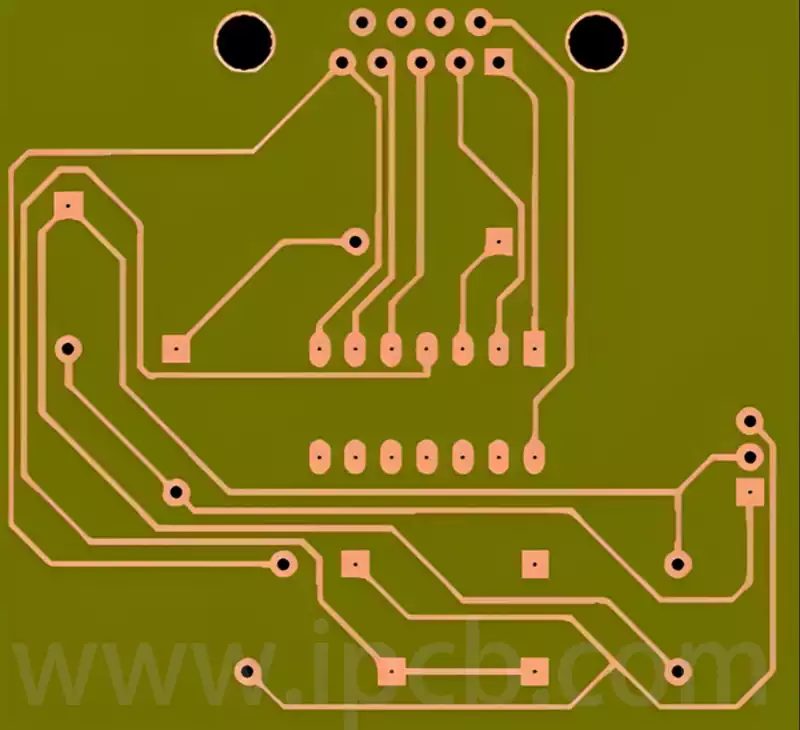
Before marking cut lines, carefully examine the copper trace layout on the PCB circuit board to ensure the cutting path does not sever critical circuit connections. Provided functional circuits remain intact, the PCB will continue operating normally after cutting. Therefore, avoiding components and vital traces is the primary principle when planning the cutting path.
Essential Tool List
Measuring and Marking Tools: A steel ruler and an erasable marker pen are indispensable for drawing straight, precise cutting guide lines.
Cutting Tools: Depending on the chosen method, this may involve a heavy-duty craft knife, hook-shaped blade, hacksaw, or power tools.
Sanding Tools: Sandpaper or a small file for smoothing rough edges after cutting.
Safety Gear: Protective gloves guard hands against sharp edges, while safety goggles prevent debris from entering the eyes. When using power tools, an N95-grade dust mask is recommended.
Once preparations are complete, proceed to the actual cutting phase. Remember, rushing increases the risk of errors and accidents. Always wear safety gear and ensure the work area is well-ventilated.
Manual PCB Circuit Board Cutting Methods: Scoring and Snapping, Plus Other Techniques
For prototyping, small-batch production, or home DIY projects, manual cutting proves economical and straightforward to master. It requires no costly equipment, only patience and skill. Common manual methods include ‘scoring and snapping’; using a hacksaw and heavy-duty scissors are also viable options.
The ‘Scoring and Snapping’ Method
This most popular manual technique involves repeatedly scoring along a precisely marked straight line with a sharp blade (such as a heavy-duty craft knife) to create a sufficiently deep groove. The PCB circuit board is then snapped along this groove by aligning it with a table edge and applying force. For cleaner breaks, scoring can be performed on both sides of the board.
For enhanced precision, consider the DIY cutting guide featured on Instructables. Secure two steel rulers to a base plate to form a narrow guide rail, directing the craft knife for straight cuts. Additionally, grinding a standard craft knife blade into a hook shape with an angle grinder enables more efficient material removal, accelerating groove formation.
Detailed steps for the ‘Score and Snap’ method:
Precise Marking: Use steel rulers and a marker pen to draw clear cutting lines on the pcb circuit board.
Secure the Circuit Board: Firmly clamp the circuit board to the workbench or use non-slip mats to prevent movement.
Begin Scoring: Align the craft knife or hooked blade with the marked line and apply pressure to score the first line along the edge of the ruler.
Reinforce the Scratch: Repeat the scoring 10–20 times at the same location to create a distinct groove approximately one-third the thickness of the board.
Reverse and Repeat (Optional but Recommended): Flip the PCB circuit board over and score a groove at the corresponding location on the reverse side.
Break the PCB: Align the groove with a sturdy table edge. Hold one side of the board firmly with one hand and snap the opposite side cleanly with a swift downward force from the other hand.
Smooth edges: Use sandpaper or a file to refine the rough edges after breaking.
Using Power Tools to Cut PCB Circuit Boards: Dremel and Precautions
When rapid, efficient cutting or irregular shapes are required, handheld rotary tools such as the Dremel are ideal. They effortlessly handle thicker FR-4 fibreglass boards, cutting intricate curves or slots that manual tools struggle to achieve. However, strict adherence to safety protocols is essential when using power tools.
Safety Risks
The primary hazard when cutting PCB circuit boards with a Dremel is the generation of substantial fibreglass dust. PCB substrate material (typically FR-4) comprises epoxy resin and fibreglass cloth. High-speed cutting transforms this fibreglass into microscopic particles suspended in the air. Inhaling this dust causes severe and irreversible damage to the respiratory system, making protective measures paramount.
Safety Warnings
When cutting PCB circuit boards with power tools, always wear a high-quality dust mask (N95 or P100 grade recommended) and fully enclosed safety goggles. Operate in a well-ventilated area (preferably outdoors) or within an environment equipped with dust extraction systems.
Tool Selection and Operational Considerations
Select an appropriate cutting disc; reinforced discs typically used for cutting metal or fibreglass are optimal. Before commencing, securely clamp the circuit board in a vice or fixture to prevent vibration or displacement during cutting, which could cause deviation or disc fracture.
Operate at medium to high speed, holding the Dremel steadily with both hands as if gripping a pen. Guide the cutting disc slowly and smoothly along the pre-marked line. Avoid attempting to cut through in one pass. Instead, employ multiple gentle, saw-like back-and-forth strokes to progressively deepen the cut. This approach yields cleaner edges and minimises the risk of blade overheating.
The Dremel excels in speed and versatility, yet its drawbacks are evident: significant noise levels, substantial dust hazards, and the necessity for practice to master steady cutting techniques. Amateurs should only consider using power tools after fully understanding the risks and implementing appropriate protective measures.
Post-Cutting Treatment: Sanding and Cleaning
Regardless of the cutting method employed, pcb circuit board edges will be rough or frayed. Smooth, clean edges are not only aesthetically important but also impact subsequent assembly and long-term reliability, making post-cutting treatment an essential finishing step.
Sanding
Inspect the cut edges for unevenness or protruding fibreglass strands. Address these using sandpaper or a small file. Begin with lower-grit (coarser) sandpaper to swiftly remove prominent burrs, then switch to higher-grit (finer) paper for detailed smoothing until the edge feels uniformly smooth. When sanding, wrap the sandpaper around a small block of wood or an eraser to provide a flat contact surface, ensuring the edge remains straight. Sand gently in one direction only, avoiding back-and-forth motion for optimal results.
Cleaning
After sanding, fine dust particles will adhere to the pcb circuit board surface and must be thoroughly removed. Failure to do so may cause short circuits or poor contact during subsequent soldering. The cleaning procedure is as follows:
Initial dust removal: Use a soft-bristled brush or compressed air to dislodge most dust from the surface and edges.
Thorough cleaning: Using a lint-free cloth dampened with a small amount of isopropyl alcohol (rubbing alcohol), carefully wipe the entire pcb circuit board surface, paying particular attention to areas near the cut edges.
Final inspection: Examine the circuit board under light to ensure no residual debris or stains remain.
Following these straightforward steps yields a professionally finished pcb circuit board with precise dimensions, smooth edges, and a clean surface, establishing an ideal foundation for subsequent electronic assembly work.