In the process of repairing and modifying electronic equipment, mastering how to remove IC chips is an important skill. IC (integrated circuit) chips are widely used in a variety of electronic equipment, and understanding the process of removing them can not only help you repair the faulty equipment, but also facilitate the modification of electronic projects. In this article, we will introduce the types of IC chips, removal tools, removal steps, precautions, practice cases and future prospects to help you better master this skill.
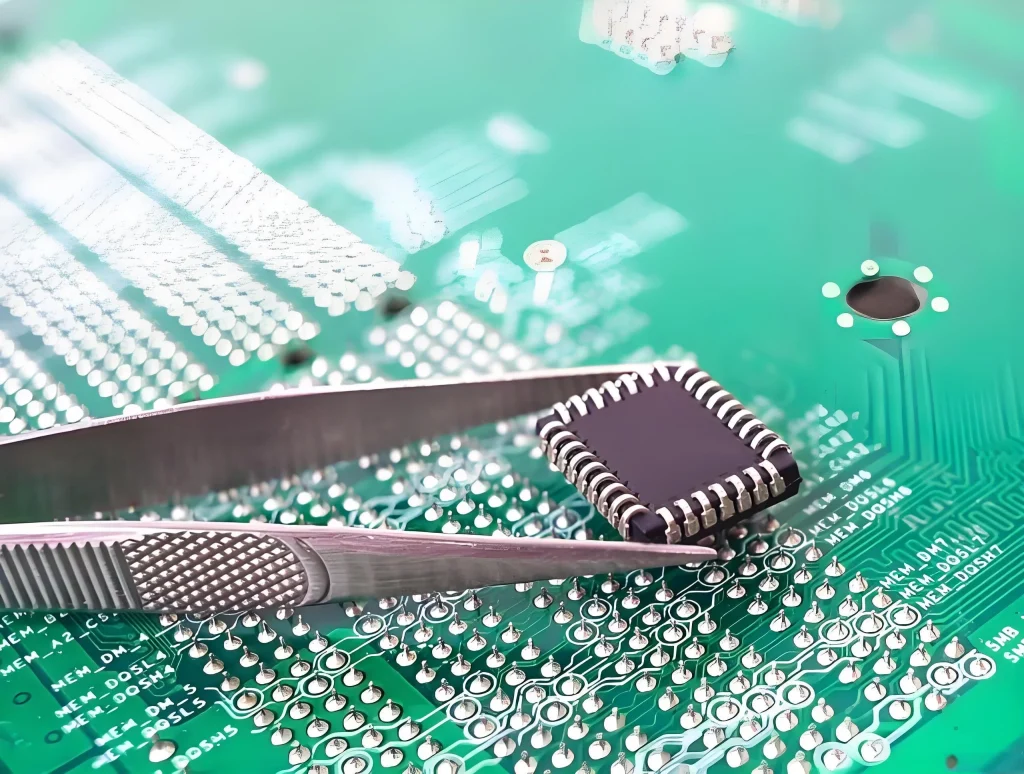
Types of IC chips
Before discussing how to remove IC chips, you first need to understand the different types of IC chips. According to the package form, IC chip is mainly divided into the following types:
DIP (dual in-line package): DIP package IC chip has two parallel pin columns, usually used in older electronic equipment, removal is relatively simple. These chips have long pins for easy removal by heat and a solder sucker.
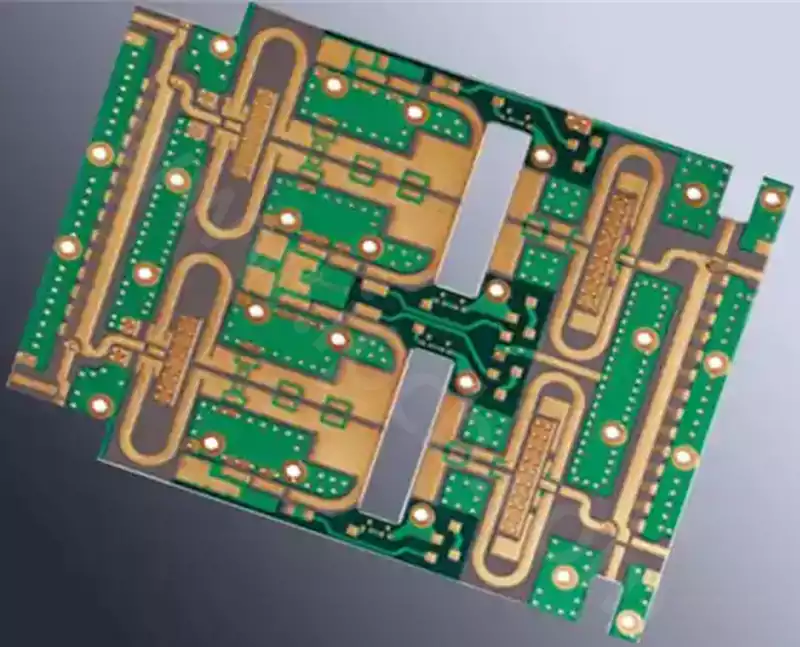
SMD (Surface Mount Device): SMD packaged IC chips are soldered directly to the surface of the PCB (Printed Circuit Board) and require special care to avoid damage to the PCB when removing them. due to the smaller size of the SMD chips and the density of the solder joints, the process of removing them requires a little more delicate handling.
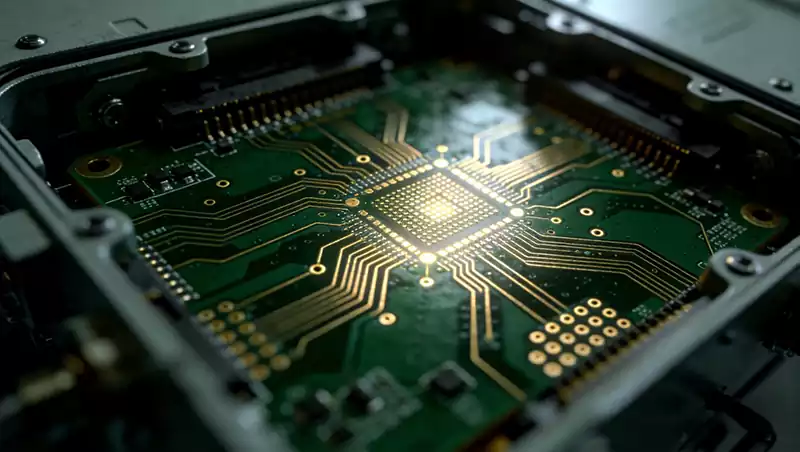
BGA (Ball Grid Array Package): BGA packaged IC chips have multiple solder balls on the bottom of the chip, which is more difficult to remove with a heat gun or specialized tools. the soldering of BGA chips is usually stronger, so it is important to make sure that the temperature of the heat gun and the heating time are properly controlled when removing them in order to avoid damage to the PCB.
Understanding the type of IC chip is critical to selecting the appropriate removal method.
Removal tool preparation
Before IC chip removal, you need to prepare some necessary tools and materials to ensure that the removal process goes smoothly:
Hot air gun: Used to heat the IC chip and its surrounding solder joints for SMD and BGA packages. Make sure to select the right temperature and air speed to avoid overheating or damaging other components.
Soldering iron: Used to manually remove IC chips in DIP packages. Choose the right iron tip to make it easier to heat the pins and quickly remove the solder.
Sniffer: Used to clean excess solder from the solder joints for smooth removal of the chip. Ensure that the solder sucker is working properly to improve the cleaning efficiency.
Scraper or Blade: Used to gently pry the chip to aid in removal. The choice of blade should take into account the hardness of the material and the sharpness of the edge so as not to cause damage to the PCB during the removal process.
Tweezers: Used to hold and position the IC chip. Choose the right tweezers to ensure easy handling without harming surrounding components.
Protective eyewear and anti-static bracelet: to ensure safety and prevent static damage to the components, especially when dealing with sensitive components, wearing anti-static bracelet is very important.
Removal Steps
The following are general steps for removing IC chips, depending on the type of chip, the specific operation will vary.
Power down and prepare the work area: Before you begin, make sure the equipment is powered down and operated in a clean, bright work area. Use an anti-static hand strap to avoid static damage to the circuit board.
Identify Chip Type: Confirm the package type of the IC chip to be removed to select the appropriate tool and method.
For DIP packaged IC chips:
Use a soldering iron to heat the solder joints to ensure that the solder melts. When heating, be careful to control the heating time to avoid overheating.
Use a pipette to remove excess solder. Ensure that the solder sucker is used at the moment when the solder melts to improve the efficiency of the sucking.
Use tweezers to gently pry the sides of the chip until it loosens and is removed. Be careful not to use excessive force as this may damage the board.
For SMD packaged IC chips:
Use a heat gun to heat the chip and its surrounding area to ensure that the solder is fully melted. When heating, move the gun evenly to avoid localized overheating.
Carefully use a spatula to pry the chip to avoid damaging the PCB, and apply gentle force while prying, being aware of how the chip is held in place.
After the chip is loosened, use tweezers to gently remove it. Be sure to stabilize the chip during removal to avoid losing small components.
For BGA packaged IC chips:
Use a heat gun to heat the entire chip, ensuring that all solder balls are heated to a molten state. Heat for a moderate amount of time to avoid distorting the PCB with prolonged heating.
Carefully use a spatula to pry the chip until it is completely loose. Make sure the temperature is moderate to avoid damaging the bottom solder balls.
Use tweezers to remove it, and be careful to avoid damaging the PCB. ensure stable operation when removing to avoid accidental component damage.
Precautions
Few precautions to keep in mind:
Temperature control: Temperature control is critical when removing IC chips. Excessive temperatures can cause solder joints on the PCB to burn out, or even cause distortion or damage to the board. When using a heat gun, it is recommended to set the proper temperature range, usually between 250°C and 350°C. It is important to note that different types of chips and solder joints may require different heating times, and it is recommended to conduct a small test to confirm the optimal heating conditions. Too low a temperature will not melt the solder effectively, while too high a temperature may cause damage to the surrounding components, so stable operation should be maintained during the heating process.
Gentle operation: When removing IC chips, the operation must be gentle. For DIP package chips, try not to use too much force to avoid pin breakage or damage to the wires on the PCB. When dealing with SMD and BGA packages, it is recommended to use a scraper to gently pry the edge of the chip instead of forcing the entire chip. Gentle operation can not only effectively avoid damage, but also maintain the protection of the circuit board during the removal process.
Clean the solder joints: After removing the chip, solder and debris may remain on the solder joints. These residues may affect the subsequent welding of new chips or the installation of other components. Therefore, it is necessary to use a solder sucker or solder sucker to clean the solder joints. Make sure that the surface of the solder joint is smooth and remove all solder residues. If there is damage to the solder joint, it can be repaired using solder and soldering tools to ensure smooth follow-up work.
Record the location: When disassembling the IC chip, it is recommended to record the specific location and connection of the chip. This is very important for subsequent reinstallation or replacement. You can use a camera or cell phone to take a picture of the circuit board, so that there is a reference basis for the installation of the new chip. In addition, note down the model number and specifications of the chip to ensure that a suitable replacement is selected.
Safety first: Safety always comes first throughout the process. Always wear protective eyewear and an anti-static bracelet before performing any soldering and removal work. Protective eyewear can prevent welding splashes of solder or other debris injury to the eyes, and anti-static bracelet can effectively avoid static electricity on the circuit board and IC chip damage. In addition, to keep the work area clean and tidy, to avoid the chaos of tools and materials, can improve work efficiency and reduce the risk of accidents.
Practical Cases
In practice, the experience of removing IC chips is especially important. Below are some practical cases that can help you better understand how to successfully remove IC chips in different situations.
Case 1: Repairing the motherboard of an old TV set
When repairing an old TV set, the DIP IC chip in the power supply section was found to be damaged. First, use a soldering iron to heat up the pins, and then use a solder sucker to clean up the solder. After a few minutes of effort, the old chip was successfully removed and a new chip was successfully installed, and the TV set resumed its normal function.
Case 2: Remodeling electronic toys
In the remodeling of an electronic toy, it is necessary to remove the SMD packaged IC chip. The chip area was heated with a hot air gun, and after the solder melted, the chip was gently removed with tweezers. Through this process, the chip was smoothly replaced and the function of the toy was enhanced.
Case 3: Handling cell phone motherboards
In the repair of a smart phone, the BGA packaged IC chip was found to be faulty. The motherboard was heated evenly with a hot air gun to ensure that all solder balls were melted. After successfully removing the chip, a new chip was installed and the phone returned to normal use.
The above practical examples show how to effectively remove IC chips in different situations. Mastering these experiences will lay a solid foundation for your electronic repair road.
Future Prospects
With the continuous progress of technology, the IC chip package form is also evolving. In the future, there may be more miniaturized, more powerful IC chip, how to effectively and safely remove these new chips, will be the focus of each electronic enthusiasts and engineers need to pay attention to. Through continuous learning and practice, we can better cope with these changes and improve our own skills.
To summarize, mastering how to remove IC chips is a very practical skill, whether in the daily maintenance of electronic equipment, or in DIY projects, can play an important role. We hope that the introduction of this article can help you in the repair and remodeling of electronic equipment more comfortable. Whether you are learning new skills, or electronic projects, mastering how to remove the IC chip will bring you convenience.
Conclusion
A thorough analysis of the IC chip removal process shows the importance and usefulness of this skill. Whether you are a professional in the electronics industry or a DIY enthusiast, mastering this skill will allow you to be more confident and efficient when dealing with electronic devices. In the future development of electronics, continuous learning and mastery of new technologies will be the common goal of every engineer and enthusiast. We hope that you will continue to make progress in learning and practicing, and become an excellent electronic technician.
